• Discover essential steps to assess and repair roof storm damage
• Learn how to document damage effectively for insurance claims
• Find practical tips for selecting a trustworthy roofing contractor
Understanding the Warning Signs of Storm Damage
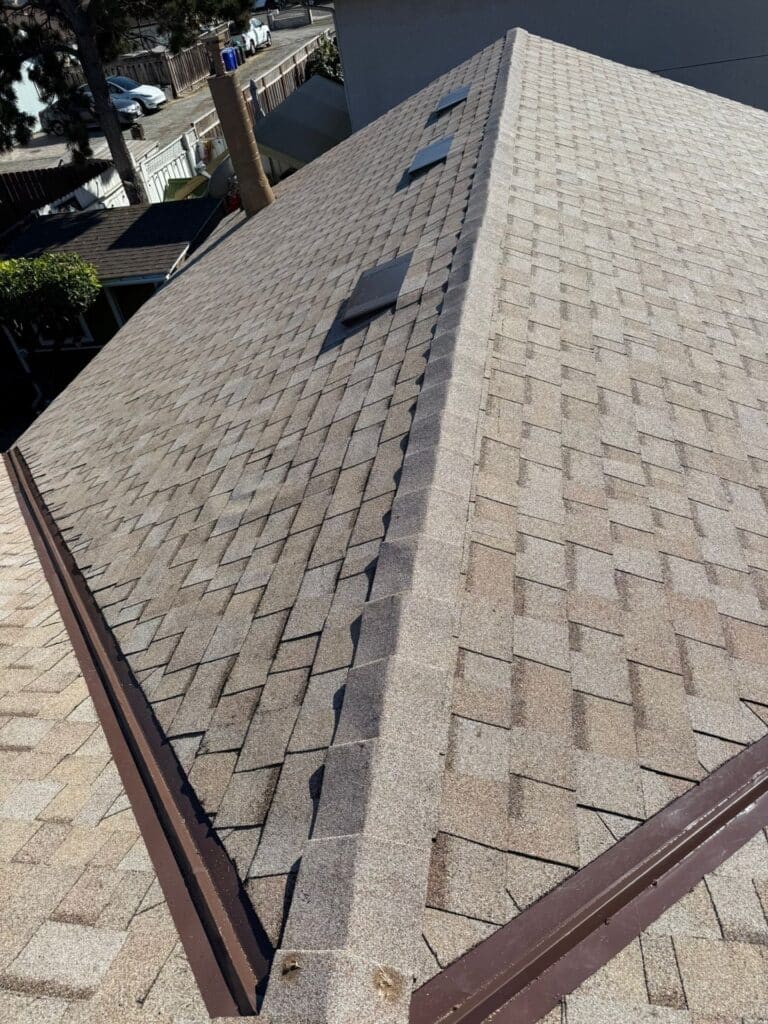
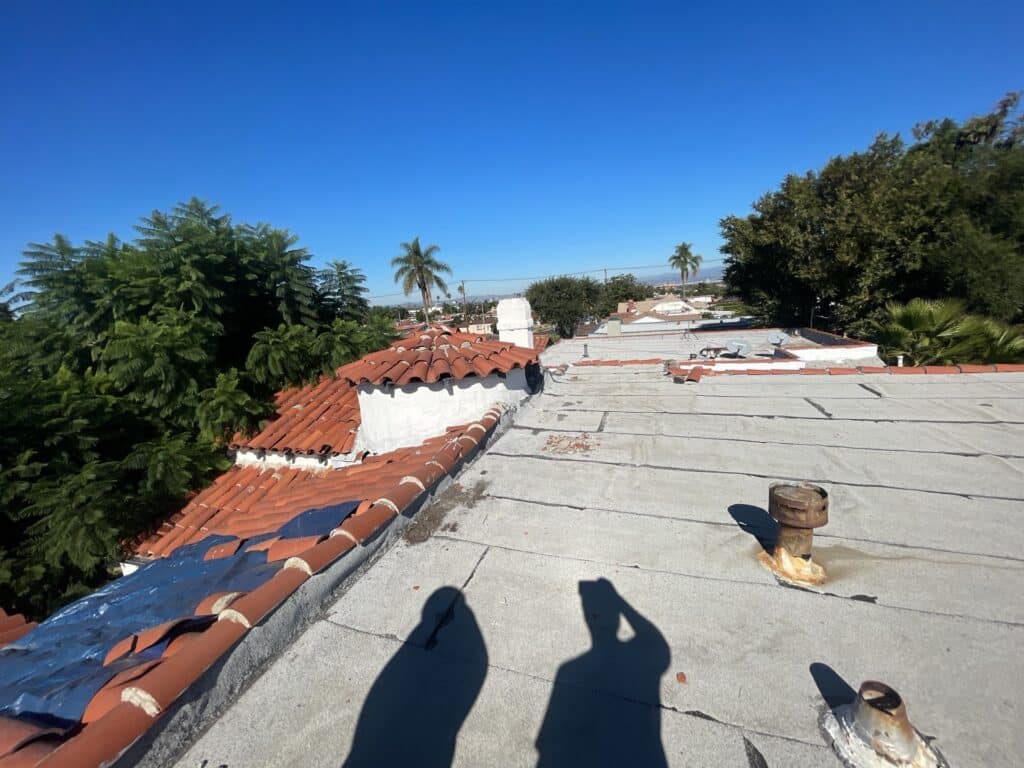
When the skies clear after a turbulent storm in North Hills, CA, it’s crucial to begin a meticulous inspection of your roof. This initial step is your first line of defense against potential long-term damage. Check for visibly missing shingles or tiles, which are clear indicators that your roof has sustained damage and may be vulnerable to leaks. Don’t overlook the smaller details, such as damaged flashing or gutters, as these can also lead to serious issues if left unchecked.
Photographic evidence of the damage not only aids in the repair process but is also vital when dealing with your insurance company. A set of clear, well-angled photos can make the difference in a successful claim. Ensure that each image captures the full extent of the damage, and remember to snap multiple angles of affected areas. Alongside your pictures, a detailed written account will solidify your documentation, which provides an accurate representation of the state of your roof post-storm.
Act swiftly to minimize the impact of the storm on your home’s interior. If the integrity of your roof is compromised, use tarps or plywood to cover significant damage temporarily. This action is not a permanent fix but will protect your home from California’s summer rains while you arrange professional assessments and repairs. Safety is paramount during this stage; if the damage is extensive or involves power lines or tree limbs, keep a safe distance and wait for professionals to manage these hazards.
Initiating the Repair Process
Once you’ve documented the extent of your roof’s storm damage, the next crucial step is contacting your homeowner’s insurance company. It’s essential to start this process promptly, as delay can affect the outcome of your claim. The documentation you’ve gathered will support your case, reinforcing its credibility. Be prepared for a thorough review by the insurance adjuster, who will assess the damage before approving repairs.
Choosing Your Roofing Professionals Wisely
Selecting a reliable contractor is the cornerstone of effective roof repair. The team at Newhaus Roofing & Construction brings both skill and local experience – a vital combination for storm damage assessment and repair in North Hills. You want to ensure that the contractor you choose is not only licensed and insured but also has a robust portfolio of satisfied customers and an impeccable reputation. Review sites and testimonials can be a valuable resource to gauge a contractor’s quality before making a commitment.
Step 1: Assess the Storm Damage
Start by carefully inspecting your roof for any signs of damage after a storm. Look for missing shingles, metal pieces displaced from around the chimney or vents, and any other visible signs of distress.
Step 2: Document the Damage
Take clear photos and notes of all the damage for your records. This will be crucial when filing an insurance claim or speaking with roofing professionals.
Step 3: Manage Immediate Risks
If there are any immediate risks to your home’s interior, such as holes in the roof or broken windows, cover them with tarps or plywood to prevent further water damage.
Step 4: Contact Your Insurance Company
Reach out to your homeowners’ insurance company to notify them of the damage. Provide them with the documentation you have gathered.
Step 5: Choose a Reliable Contractor
Research and select a local, reputable contractor who specializes in storm damage roof repair. Ensure they have experience with insurance claims.
Step 6: Temporary Fixes
While waiting for professional repair, implement temporary fixes where possible, such as patching up small leaks with roofing cement.
Step 7: Schedule the Repair
Work with your chosen contractor to schedule the repair. Make sure to discuss all aspects of the repair process, including timelines and costs.
Step 8: Prevent Future Storm Damage
Discuss with your roofing expert ways to make your roof more resistant to storm damage in the future, like installing storm straps or using impact-resistant shingles.
Introduction to Common DIY Mistakes in Storm Damage Repair
When faced with the aftermath of a storm, homeowners may be tempted to take repair matters into their own hands. While initiative and quick action can be advantageous, certain common mistakes during DIY roof repair can lead to bigger problems down the line. It’s vital to be aware of these pitfalls to ensure any efforts contribute to a solution, not additional damage.
Mistake 1: Ignoring Safety Precautions
Many individuals underestimate the risks associated with roof inspections post-storm. Make sure to wear appropriate safety gear, use a sturdy ladder, and never go onto a wet or damaged roof to avoid accidents.
Mistake 2: Overlooking Minor Damage
Small issues like cracked shingles or minor leaks are often ignored, but these can escalate quickly. Attend to even the slightest damage promptly to prevent water intrusion and larger repair bills in the future.
Mistake 3: Inadequate Temporary Fixes
Using improper materials for temporary fixes can cause further damage to the roof structure. Use designated roofing tarps or plywood and secure them properly to protect against water and wind until permanent repairs are made.
Mistake 4: Delayed Documentation
Waiting too long to document the damage can make it harder to file an accurate insurance claim. Take immediate and thorough photos and notes on the damage while it’s fresh for a smoother claim process.
Remember, each action taken during DIY repair should be a step towards restoration, not just a quick fix. Follow the guide closely, and when in doubt, consult with a professional from Newhaus Roofing & Construction to verify the correct course of action.
Temporary Fixes to Mitigate Damage
Temporary fixes can serve as an effective interim solution while you await comprehensive repairs from professionals. Small leaks can often be managed with patching compounds, offering a temporary barrier against water intrusion. However, it’s essential to view these as short-term measures and not permanent solutions.
Preparing for the Full Repair
Scheduling the full repair is a critical phase where the timing, cost, and extent of work must be clearly laid out and understood. Working with Newhaus Roofing & Construction ensures expert project management and transparency throughout the repair process. Open communication with your contractor will facilitate a smoother repair timeline and help set realistic expectations for the project’s completion.


